Braai Like a Pro: Fire Pit Tips for the Perfect Sear
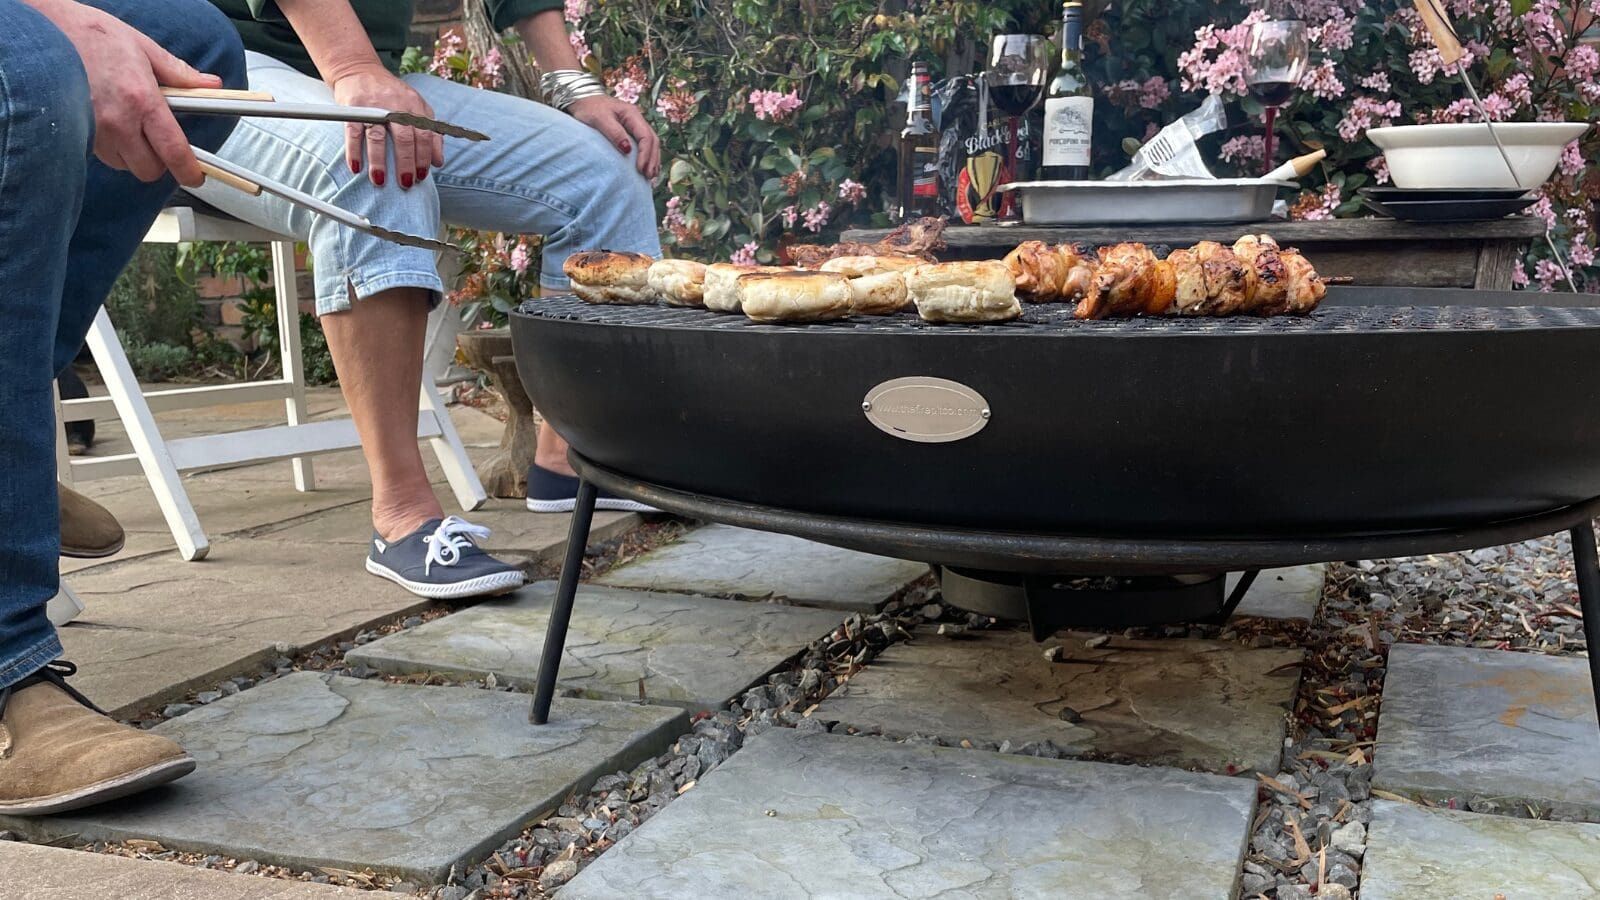
There’s nothing quite like the smoky aroma of a braai sizzling away on a warm summer evening. Whether you’re grilling up a juicy steak, succulent chicken, or flame-kissed vegetables, mastering the art of searing over a fire pit takes skill, technique, and the right tools. If you want to elevate your braai game, follow these expert tips to achieve the perfect sear every time.
Start with the Right Fire
A great sear begins with the right heat source. Unlike gas grills that offer instant flames, a fire pit provides an authentic wood or charcoal flavour that enhances your food’s taste. Here’s how to get the best results:
- Choose Quality Fuel – Hardwood like Kameeldoring or Mopane burns hotter and longer, giving your meat a delicious smoky essence. Sekelbos produces a spicy aroma, ideal for smoking. In a rush? Rooikraans burns quick and hot, producing strong embers for a fast grill.
- Let It Burn – Patience! Allow your fire to burn down until you have a glowing bed of hot embers. Cooking over flames can lead to uneven heat and flare-ups, but embers provide steady, controlled temperatures.
Preheat Your Cooking Surface
A cold grid or pan can cause food to stick and lead to an uneven cook. Ensure your cooking surface is properly preheated:
- A solid grid – A stainless-steel, cast-iron grid or pan retains heat exceptionally well and provides that beautiful crust on your steaks and burgers.
- Clean and prepare your cooking surface – Use a sliced onion and rub the grid to rid of any unwanted leftovers from previous delicious braais. The onion will clean the grid and leave a slight flavour for the next sear. Lightly oil your cooking surface before placing food down. Use high-smoke-point oils like canola or avocado oil to prevent burning.
Master the Searing Technique
The secret to that perfect crust is high heat and patience. Follow these tips for the ultimate sear:
- Press Down Gently – When placing your meat on the grill, press it lightly to ensure full contact with the cooking surface.
- Flip Once – Resist the urge to flip your meat repeatedly! Let it sear undisturbed for 2–3 minutes per side for a perfect crust.
- Use the Touch Test – Check for doneness by pressing the meat. A rare steak feels soft, medium has slight resistance, and well-done feels firm.

Essential Braai Accessories
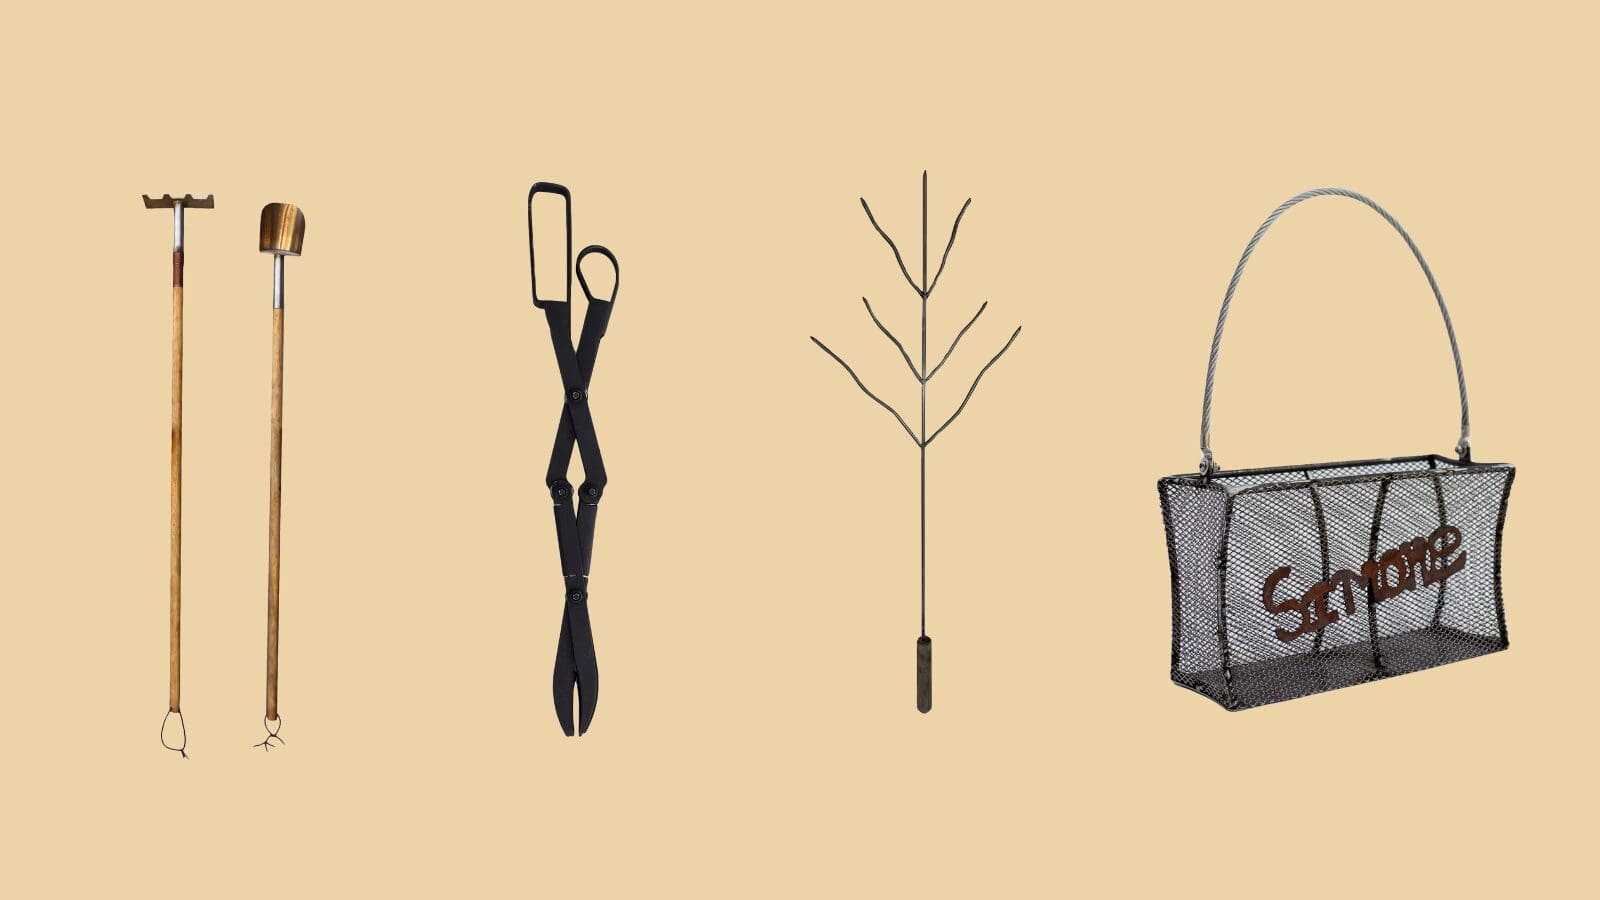
To braai like a pro, you need the right tools. Here are must-haves for your fire pit setup:
- Braai Grid – A heavy-duty, handcrafted grid allows for easy flipping and even cooking.
- Tongs & Spatula – A long-handled set ensures safety and precision while handling food.
- Braai Pan – Perfect for cooking smaller cuts, seafood, or veggies without losing them to the fire.
- Marshmallow Sticks – Because no fire pit evening is complete without a sweet treat!
Final Touch: Let It Rest
Once your meat is off the fire, let it rest for 5–10 minutes before slicing. This allows the juices to redistribute, ensuring a juicy, flavourful bite every time. Happy braaing!
")
Photo(s) credit @Sungani